Once Human: Hearst Industries 100% Guide – All Crates, Rift Anchor, and Enemies
Hearst Industries in Once Human is the kind of place where rusted ambition meets fungal nightmares—a sprawling corpse of a factory complex that once pumped out something useful, now left to rot under the Broken Delta’s perpetual drizzle. For any Starchrom-starved meta-human wandering through 2026’s surreal apocalypse, clearing this site isn't just a checkbox; it’s a rite of passage. The zone sprawls like a half-collapsed ant colony, where conveyor belts twist through collapsed roofs like the metallic intestines of a slumbering beast, and every corner might cough up a loot goblin’s dream or a charred maniac eager to introduce your face to a concrete pillar. Navigating it without a guide is like trying to read braille inside an industrial blender—technically possible, but unnecessarily painful. This guide lays out every Rift Anchor, all crates from Mystical to Storage, and a rogues’ gallery of enemies, so you can strip the place clean and get back to your base before the rain rusts your boots off.
The Rift Anchor: Heart of the Blighted Factory
Every exploration in Once Human begins with a pulse—the Rift Anchor. In Hearst Industries, this glowing ectoplasmic heart isn’t buried in some arcane vault; it’s sitting rather obnoxiously in a small open lot like a forgotten lawn ornament. If you’re approaching from the west entrance, stick to the right side and you’ll trip over it almost immediately. Just track it on the map with a right-click, and the anchor icon will lead you like a moth to a slightly irradiated flame. Two Ghouls loaf around the area, probably debating the finer points of concrete appreciation. Smack them out of their reverie, sync the anchor, and the entire location opens up on your map like a loot-filled piñata waiting to be cracked.
All Crate Locations: A Scavenger’s Treasure Map
The real meat of Hearst Industries lies in its dense scattering of crates. To officially complete the area, you need to crack open the Mystical crate and at least one Weapon or Gear crate, but why stop there when the place is practically vomiting loot? Storage crates, Morphic crates, gear boxes—they’re hidden with a mischievous cunning that suggests a poltergeist with a packing habit spent a weekend here. Think of these crates as Easter eggs hidden by a spirit that really wants you to climb things you shouldn’t. The table below breaks down every notable container. Bring a grappling hook if you have one, or prepare to parkour like a caffeinated squirrel.
| Crate Type | Location | Notes |
|---|---|---|
| Mystical Crate #1 | Top of the massive central factory. Take the elevator on the left flank all the way up. | The Mother of Life shambles around this crate like a pacifist giant. She won’t attack unless provoked—her head is the weak point if you decide to turn her into a bullet sponge. |
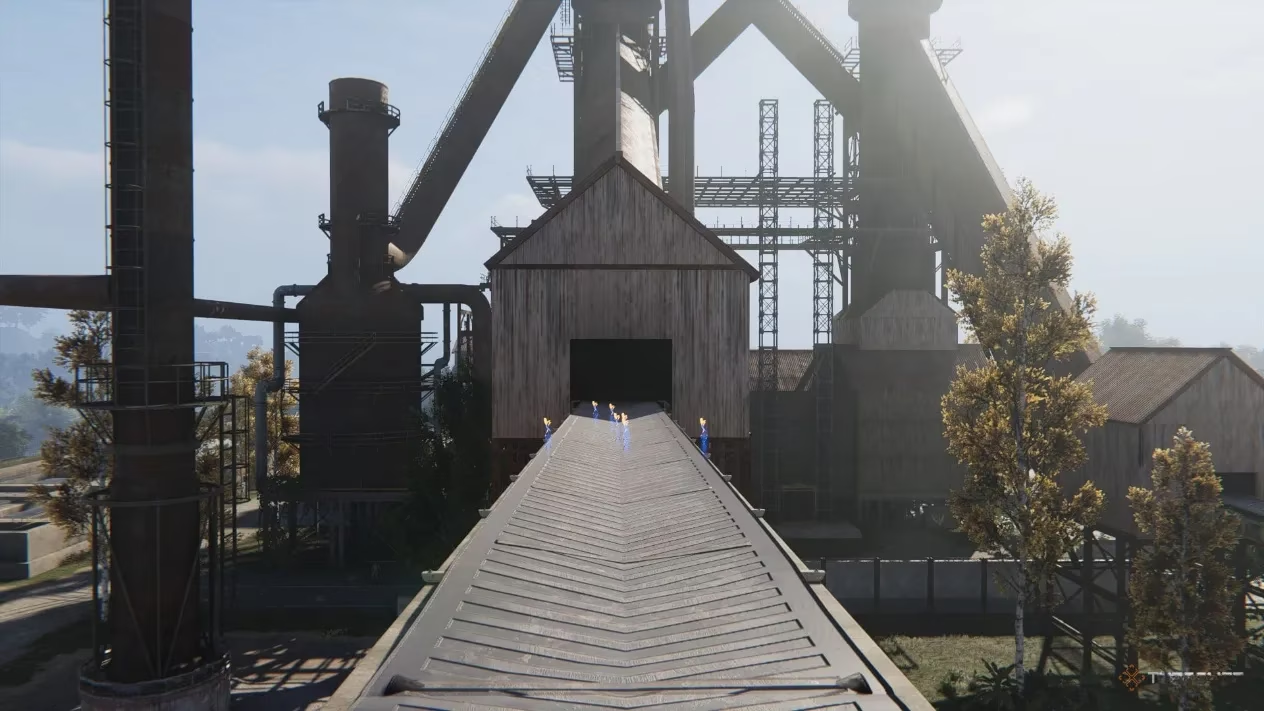
| Mystical Crate #2 | Left of the west entrance, atop a network of conveyor belts. Follow the belts upward until a purple light winks at you. Walk through it and keep straight. | The purple glow acts like a will-o’-the-wisp in a haunted swamp—follow it faithfully and the crate reveals itself. |
| Weapon Crate #1 | Left of the Mother of Life, up a flight of stairs. | A straightforward climb; the staircase is right there, no gymnastics required. |
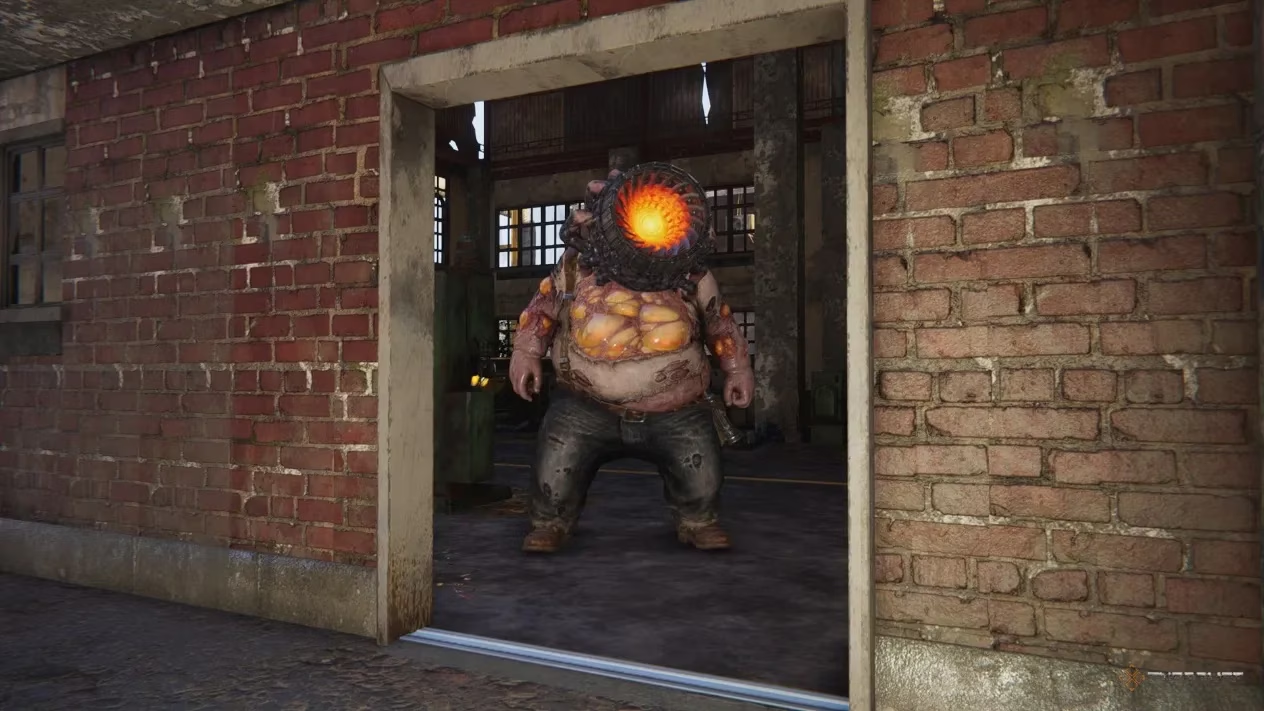
| Gear Crate #1 | Spawns after defeating The Scorcher in Area 01. | The Scorcher’s head is its weakness, but when it detaches, it skitters around as a spider-form that wants to hug your ankles. Two-phase fight, one reward. |
| Gear Crate #2 | Inside the building marked Area 02, perched on the second layer of railings near the entrance. | Either channel your inner building-climber up the stacked debris, or hunt down the fusebox in the nearby office to activate a furnace that lifts you over like a makeshift elevator. |
| Morphic Crate | Just outside Area 01’s doorway. | Hard to miss; it sits there like a gift left by a very confused delivery person. |
| Storage Crates (1–13) | Various hidden nooks detailed below. | Use these as a checklist to vacuum every last resource from the location. |
Storage Crate Scavenger Hunt
-
Storage Crate #1 – Inside a metal container near the Rift Anchor, right in front of the mechanic shop. Peak irony: a box inside a box.
-
Storage Crate #2 – To the left of a car in a fenced-off area behind the mechanic shop. Squeeze through the gap like a contortionist.
-
Storage Crate #3 – Just outside the central factory’s left side. Can’t miss it unless you’re actively trying to.
-
Storage Crate #4 – Inside the central factory, perched on top of a large truck. Jump up from the cab; no telekinesis needed.
-
Storage Crate #5 – Same factory interior, lying on a railing like a sunbathing cat.
-
Storage Crate #6 – Left of the west entrance, inside a building with an orange roof. The color screams “loot inside,” yet somehow people still walk past.
-
Storage Crate #7 – Top of the leftmost northern structure. Scale the ladder and enjoy the view—and the crate.
-
Storage Crate #8 – Inside Area 01’s office. Likely keeps the Scorcher’s tax documents.
-
Storage Crate #9 – In the building directly ahead from the Morphic crate. Straight shot, no detours.
-
Storage Crate #10 – North electrical grid zone, resting on machinery. Climb carefully; the sparks are just decorative, but the fall isn’t.
-
Storage Crate #11 – Cross a ridge to the right of the electrical grid area, head downstairs into a building. The crate waits inside like a patient hermit.
-
Storage Crate #12 – Same building as #11, but drop through the floor hole and descend the ladder. Subterranean delight.
-
Storage Crate #13 – Parking lot, on top of a metal storage container to the right of the previous building. A classic climb-and-grab.
Clearing every crate makes the area 100% complete and dumps a satisfying pile of resources into your terminal. Consider it therapy for your hoarding instincts.
All Enemies: The Factory’s Unwelcoming Committee
Hearst Industries isn’t just a museum of decay; the exhibits bite. The enemy roster reads like a horror kabuki play: Burrowers that pop out of the ground like angry tubers, Corrupted Wolves skulking with digital rabies, Ghouls that have clearly skipped OSHA training, Charred Maniacs charging in with all the grace of a burning wardrobe, and floating Cogitarids that remind you that telekinesis is absolute cheese. Then there’s the headliner—The Scorcher, a mini-boss that’s mandatory for the elite enemy task and behaves like a bad breakup that refuses to stay down.
For all these threats, the golden rule is aim for the noggin. Even the most mutated cranium cracks faster under concentrated fire. The Scorcher demands special attention: it starts as a towering flame-chucking humanoid with a head so weak it practically has a bullseye painted on it. Empty a clip into that dome, and you’ll be rewarded by watching it detach and transform into a crawling spider-form that scuttles around with the relentless fury of a Roomba from hell. The fight becomes a frantic dance—dodge the flaming projectiles, track the skittering nightmare, and keep the pressure on. Pack plenty of activators because your health will yo-yo, and consider bringing a weapon with fire rate and range to swat both phases without needing a hug break.
Ghouls and Charred Maniacs are mostly cannon fodder, but group aggro can turn the factories into a mosh pit. Use the environment—climb onto trucks, railings, or conveyor belts—to pick them off. Corrupted Wolves come in packs and love flanking, so watch your six. Cogitarids hover and shoot, but a few headshots send them crashing like a deflated balloon. The Mother of Life is the one enemy you can literally walk past while she hums her mournful tune; if you choose to fight, unleashing everything on her head turns the encounter into a damage-number firework display rather than a slog.
Once Hearst Industries is fully cleared, the sense of accomplishment is only rivaled by the mountain of materials you’ll haul back. This abandoned factory may have lost its original purpose, but for a savvy meta-human in 2026, it’s been reborn as a treasure chest with a pulse—and a few sharp teeth.